
Maps
Summit
In one line: A two site, three lane map with a highly connected mid and three walls that, once dropped, close a path for the rest of the round. Whoever controls mid picks the site; whoever uses the walls well decides how the round rotates.
The other layers come with Premium (here: callouts only).
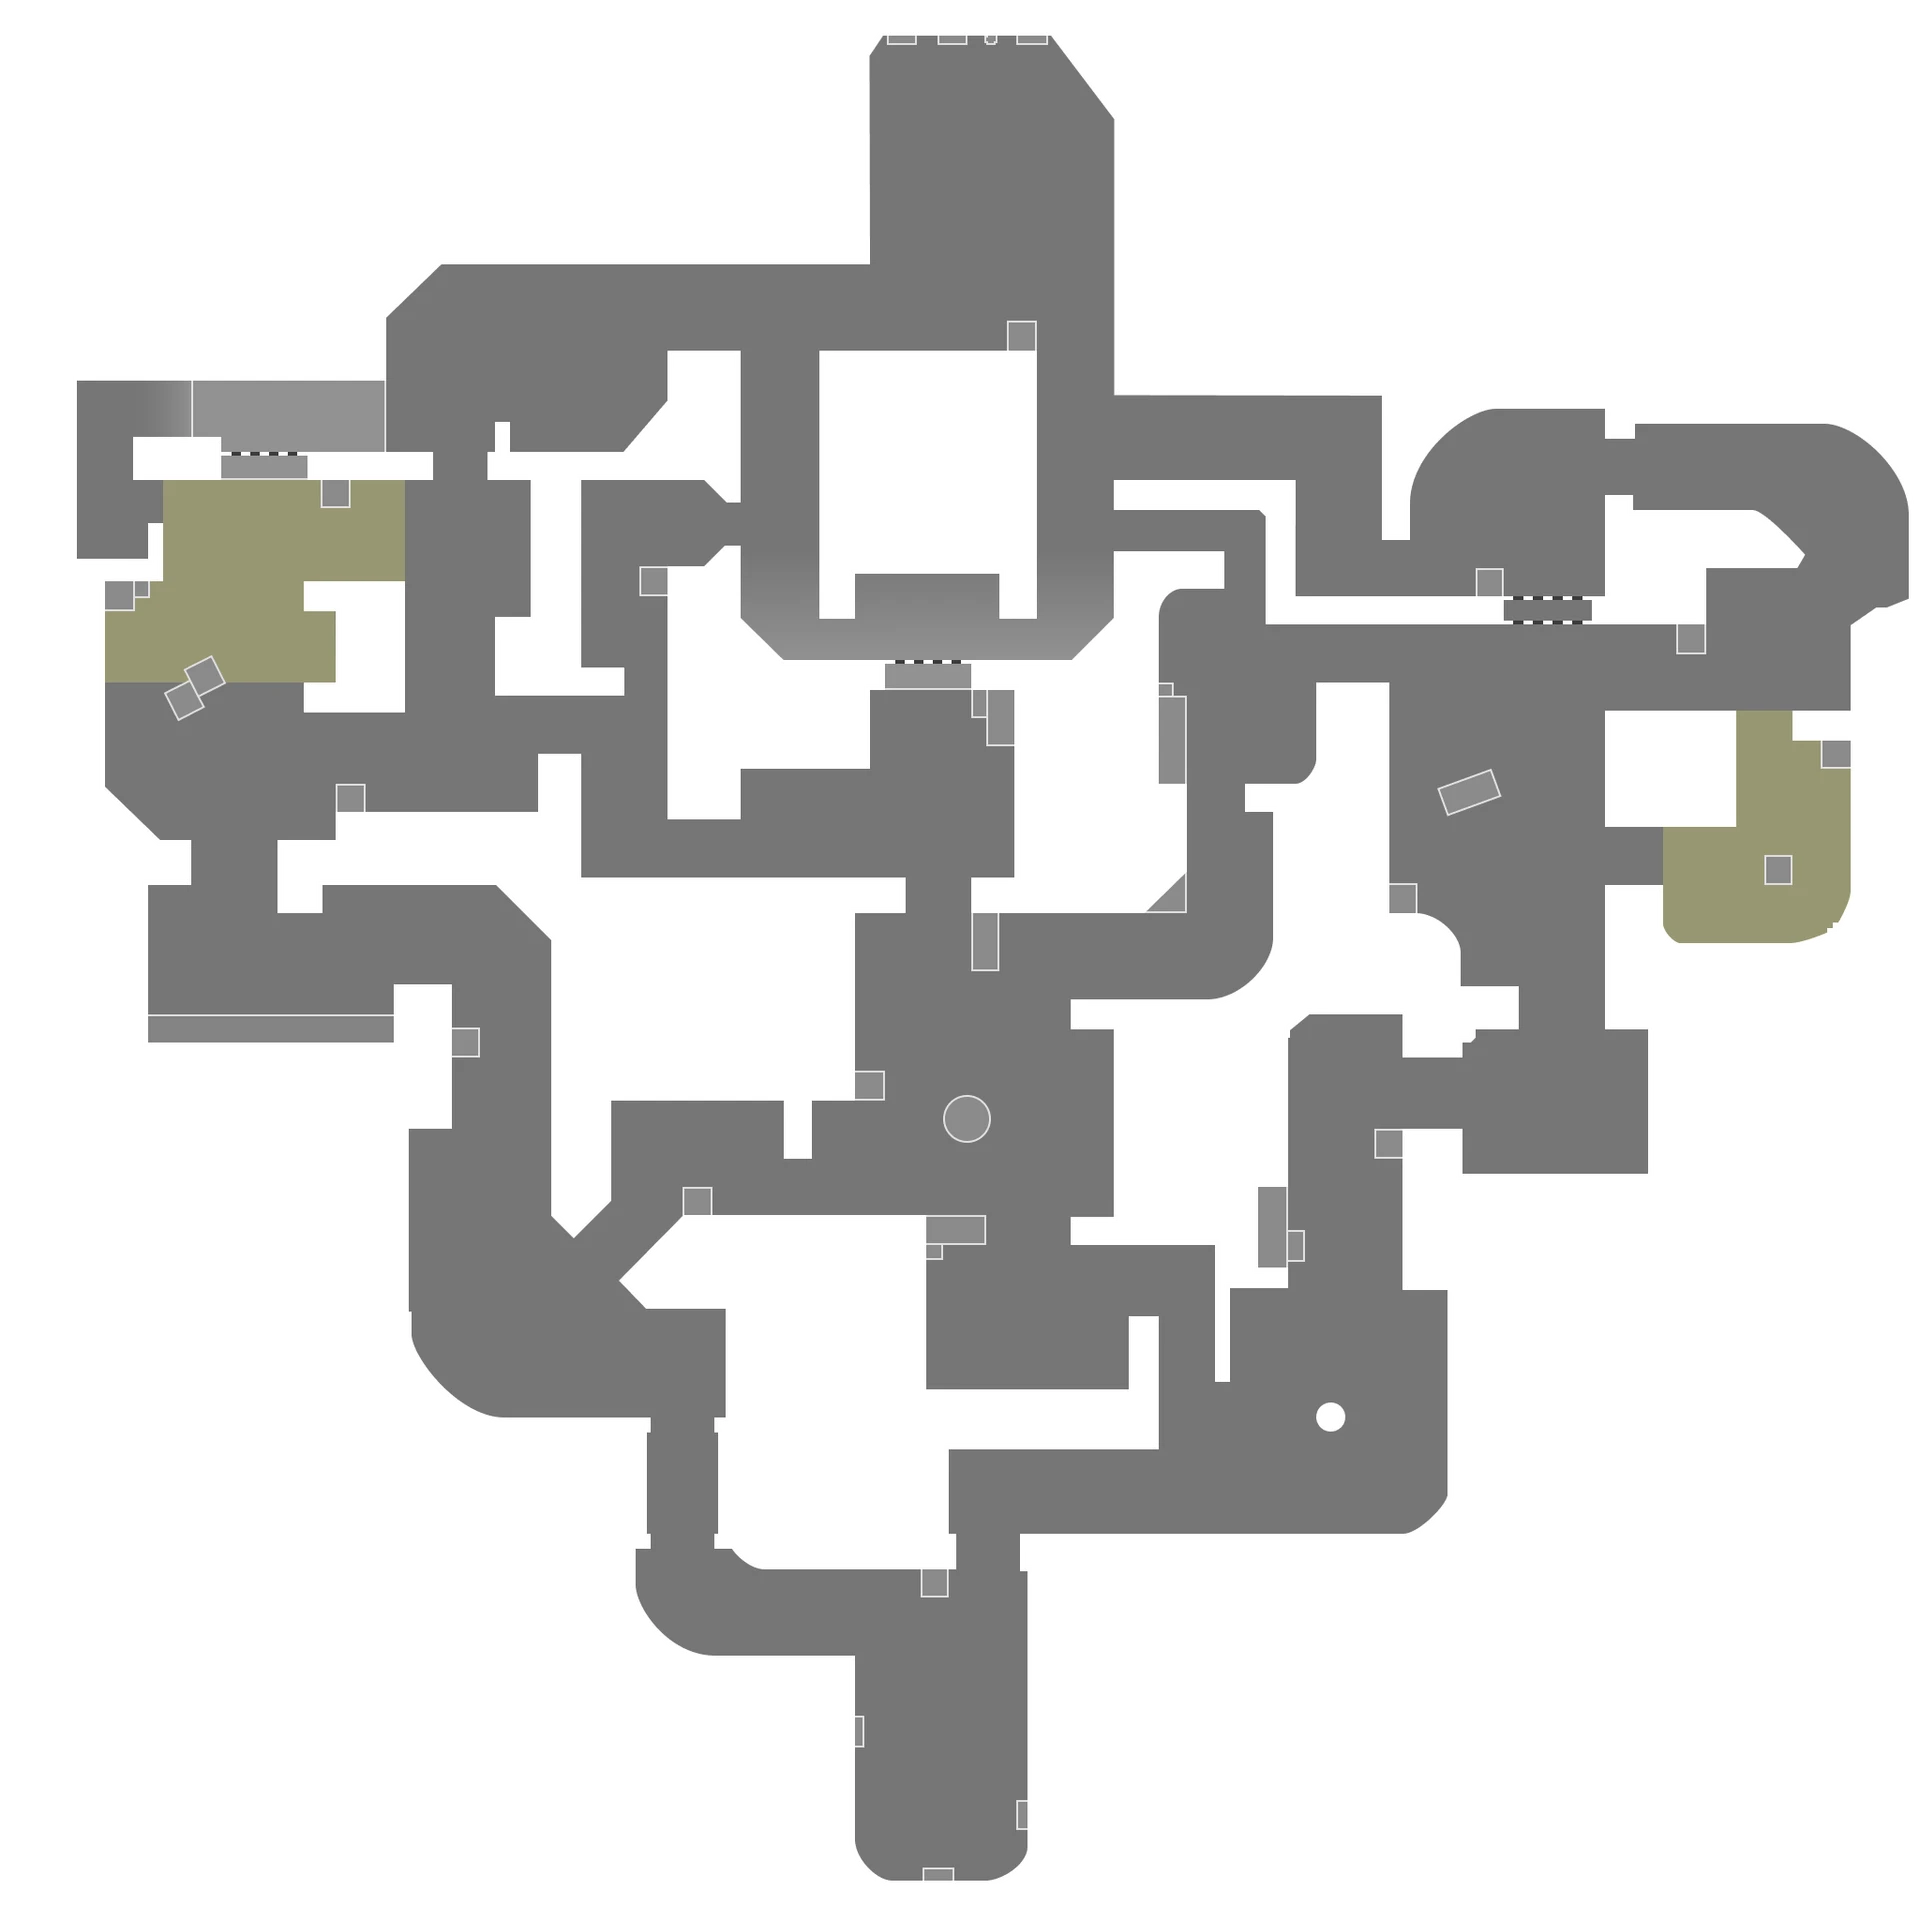
Everything on the map, as a list
Same content as the drawing. Select an item to highlight it on the map.
Callouts
Win condition
Summit is a two site, three lane map, VALORANT's thirteenth, added in patch 13.00. On the minimap the defense starts at the top and the attack at the bottom; B is top left, A is on the right, and mid sits in between, heavily connected to both sites.
What makes Summit different from every other map is its three dropping walls: one on A (between A Art and A Garden), one in mid (between Mid Window and Mid Bottom), one on B (between B Tower and the site). Each wall has a switch: destroy it and the wall comes down and stays down for the rest of the round, closing that path. Anyone standing underneath when it lands dies, even if they are invulnerable at that moment, and any utility under the wall is destroyed.
On attack the win condition is to take mid (especially Mid Fountain) and use it to threaten both sites, then use the walls after you have taken space: a wall dropped after the plant can cut off a retake path.
On defense the win condition is to keep at least one steady piece of info on mid and to use the walls reactively, when they stop a messy execute or buy time for the rotation. A wall dropped too early, for no reason, can shut the door on your own teammates.
Callouts
Summit has 24 official callouts. The main ones:
- A: A Lobby and A Main are the attack's path to A; A Garden is the area in front of the site, where you enter A from; A Art and A Cave sit above the site, on the defender side; A Hall connects the defender spawn to A Art; A Link connects mid to A site.
- B: B Lobby and B Main are the attack's path to B; B Link connects Mid Bottom to B site; B Gym, B Tower and B Trophy are the defender areas above the site; B Drop is where you come down from B Tower.
- Mid: Mid Fountain (the central junction), Mid Top (towards the attack), Mid Bottom and Mid Window (towards the defense), Mid Bend (towards A Link) and Mid Tiles (towards B).
- The spawns: Attacker Side Spawn at the bottom and Defender Side Spawn at the top.
Careful: the mid names can feel backwards, because Mid Top is close to the attack and Mid Bottom is close to the defense. Always use the official names, which also show on the in-game minimap, so your team understands you instantly. Clear callouts matter more than usual on this map: when a wall drops, say which one right away.
The rest of this chapter is Premium
You read the preview. The full text, every "if, then" card and the cheat sheet come with Premium. Your progress stays saved either way.
21 more sections